

Alright you are here because you want to add Submit button in splunk dashboard panel, right? If you are don’t worry your search is finally over and you have arrived at the correct destination. In this blog we are going to understand how to achieve our goal of adding a submit button in the simplest way possible.
First step would be simply to add a button element in our XML code. Write the following code under your ‘panel’ element in which you want to add the submit button.
<html>
<div>
<button type="button" id="buttonId" class="btn btn-primary">Submit</button>
</div>
</html>
To make our button look more like the default submit button we have added two classes ‘btn’ & ‘btn-primary’ as you can see, these classes are nothing but the classes used in the styling of default submit button.
So, after adding the above code your XML should look something like this
<row>
    <panel id=”test”>
      <input type="dropdown" token="token" searchWhenChanged="false">
        <label>Select</label>
        <fieldForLabel>sourcetype</fieldForLabel>
        <fieldForValue>sourcetype</fieldForValue>
        <search>
          <query>index="_internal" | stats count by sourcetype</query>
          <earliest>0</earliest>
          <latest></latest>
        </search>
      </input>
      <html>
        <div>
          <button type="button" id="buttonId" class="btn btn-primary">Submit</button>
        </div>
      </html>
      <single>
        <search>
          <query>index="_internal" sourcetype="$token$" | stats count</query>
          <earliest>0</earliest>
          <latest></latest>
        </search>
        <option name="drilldown">none</option>
        <option name="refresh.display">progressbar</option>
      </single>
    </panel>
  </row>
Now, go to $SPLUNK_HOME/etc/apps//appserver/static and create a text file with ‘.js’ extension. For this example, I am creating “test_submit.js” and write the following code in your text file.
require([
        'jquery',
        'splunkjs/mvc',
        'splunkjs/mvc/simplexml/ready!'
    ], function ($, mvc) {
    function submit_btn() {
                var submittedTokens = mvc.Components.get('submitted');
                var defaultTokens = mvc.Components.get('default');
                if (submittedTokens && defaultTokens) {
                        submittedTokens.set(defaultTokens.toJSON());
        	       }
            }
    $('#buttonId').on("click", function (){
        submit_btn();
    });
   });
Now restart your Splunk Instance and your submit button should be now visible and functional.

Don’t forget to add the following in your tag. It tells Splunk which ‘js’ & ‘css’ file should be included in the dashboard.
“<form script="test_submit.js" stylesheet="submit_btn.css”>”If you want your submit button on the right side of your dropdown input, then you have play around with some CSS. I have added a CSS file(submit_btn.css) in the same location where we just added our ‘.js’ file. The CSS code which I used is as follow:
#test>.dashboard-panel>div:nth-last-child(2),
 #test>.dashboard-panel>div:nth-last-child(3)
 {
         display: inline-block;
         position: relative;
         top: 51px;
 }
Here ‘test’ is the ‘id’ name which I have assigned to the panel, you can write anything here. And added the following code in my XML:
<row>
     <panel id=”test”>
      <html>
        <style>
          #test-fieldset { display: inline-block; }
        </style>
      </html>
     </panel>
</row>
Here,”-fieldset” is the ‘id’ name of our input parent element you can check this by inspecting the html code, to do this you can either use “ctrl+shift+I” or right-click on page and the select ‘Inspect’.
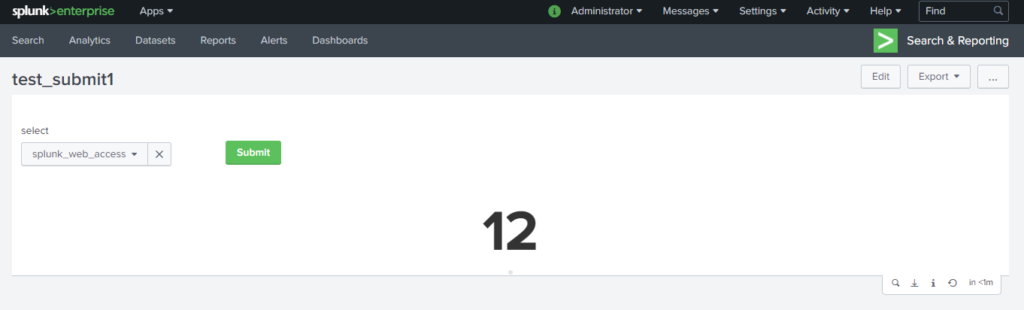
Now, as you can see below submit button is at the right side.
If you are still facing an issue regarding How to add Submit button in splunk dashboard panel. Feel free to Ask Doubts in the Comment Section Below and Don’t Forget to Follow us on 👍 Social Networks. Happy Splunking 😉


