

In this blog we are going to understand what is an indexer the role of an indexer and configuring indexer in splunk, let directly dive in to the blog.
What is an Indexer and steps to configure it?
An indexer as the name suggests it helps to index the data .Just like the index page of any book it indexes the log data which it receives from heavy forwarder or Universal forwarder. The indexer being the core component in Splunk Enterprise helps in converting the raw data into searchable events and stores them in the indexes.
You can see the typical flow in which data is entered and the role of indexer in the pipeline :

Please note that once your data gets indexed it cannot be modified in the later stage.
Now since you became familiar with the indexer lets see how you can configure it, assuming that you have splunk already installed on your VM instance if not then please use the (link)
to install Splunk.
Method 1: Configuration file edit method
Step1 : Take IP of your Splunk Instance created open putty and login with the admin credentials
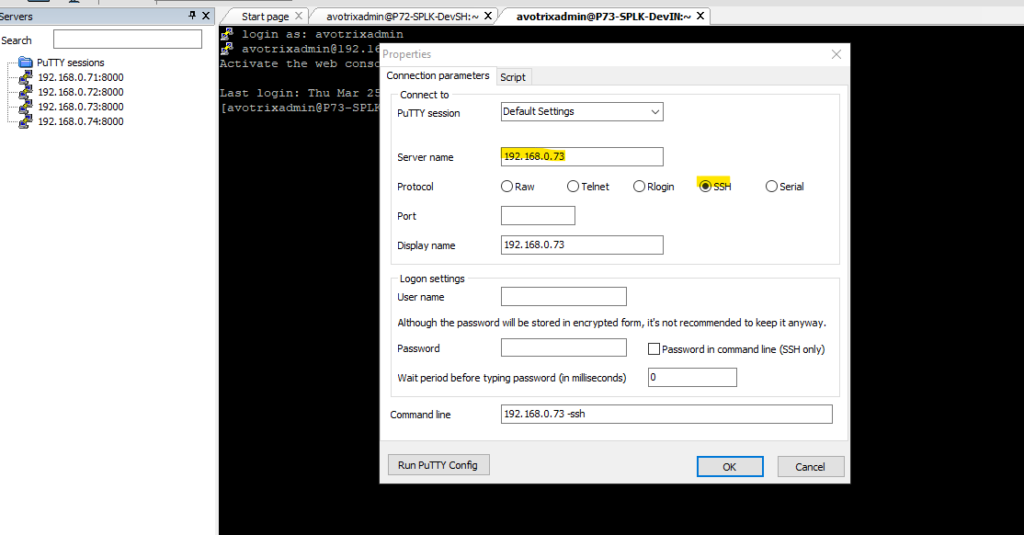

Step2 : Switch to splunk user and enter password
$ sudo su splunk
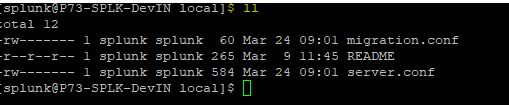
Step3 : Go to system local folder
cd /opt/splunk/etc/system/local
Type ll to see the content in the folder ,
➢ll
Step4 : Configure input port in indexer, here we are configuring TCP 9997.One can enable port as per their requirement by adding stanza in inputs.conf
Use the below command to create or edit conf file in the folder.Here we are creating inputs.conf in indexer to take input via tcp 9997 port.
vi inputs.conf
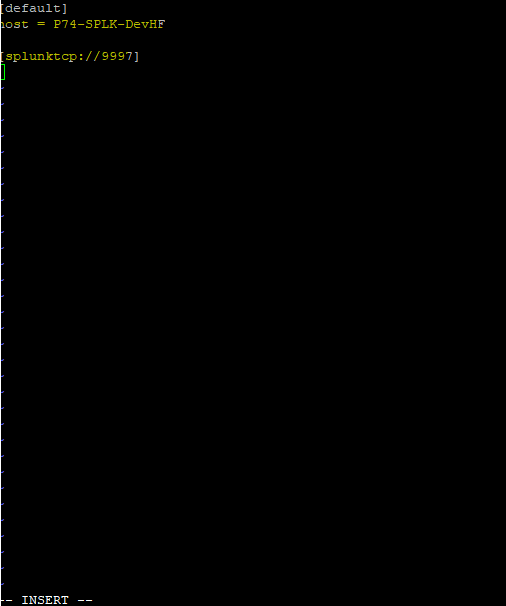
Define a stanza as shown in the above snip then
Save (:wq) and Exit inputs.conf and restart splunk instance
/opt/splunk/bin/splunk restartStep5: Login to instance from UI using link as below:
➢ 192.168.0.73:8000

Method 2: Configure through UI Login instance by UI.
Step1: Login with splunk UI
➢ Go to settings>>forward and receiving

Configure receiving:
➢ Click Add new

Step 2 :
➢ Input port and click Save

The Indexer is able to receive data from the forwarder on TCP port 9997.
Congratulation your Splunk instance has been configured as an Indexer and is ready to index and parse the data which has been received from heavy forwarder and send it to Search head.
To know how to configure heavy forwarder use the link : : (link of blog on heavy forwarder configuration)
To know how to configure Search head use the link : : click here
If you are still facing issue regarding configuring indexer in splunk Feel free to Ask Doubts in the Comment Box Below and Don’t Forget to Follow us on 👍 Social Networks, happy Splunking >😉


