
In this blog we will be limiting to HTTP GET request.
Download and Registration
- Download Blynk App
- You can easily download your Blynk App from Apple App Store
https://apps.apple.com/us/app/blynk-control-arduino-raspberry/id808760481?ls=1
or Android Play Store
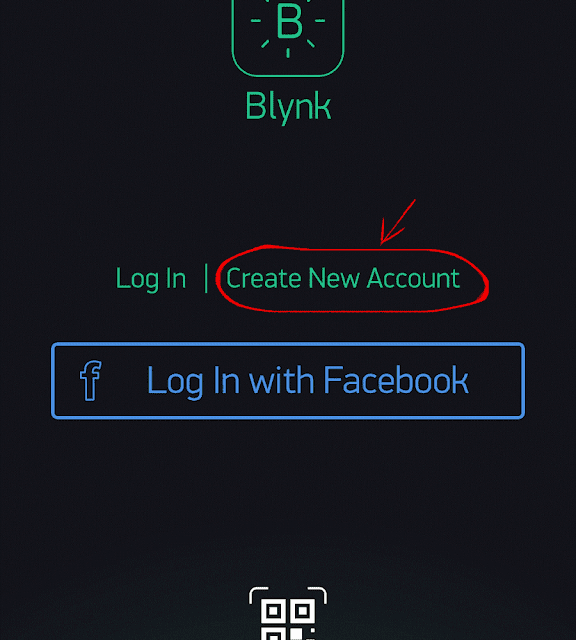
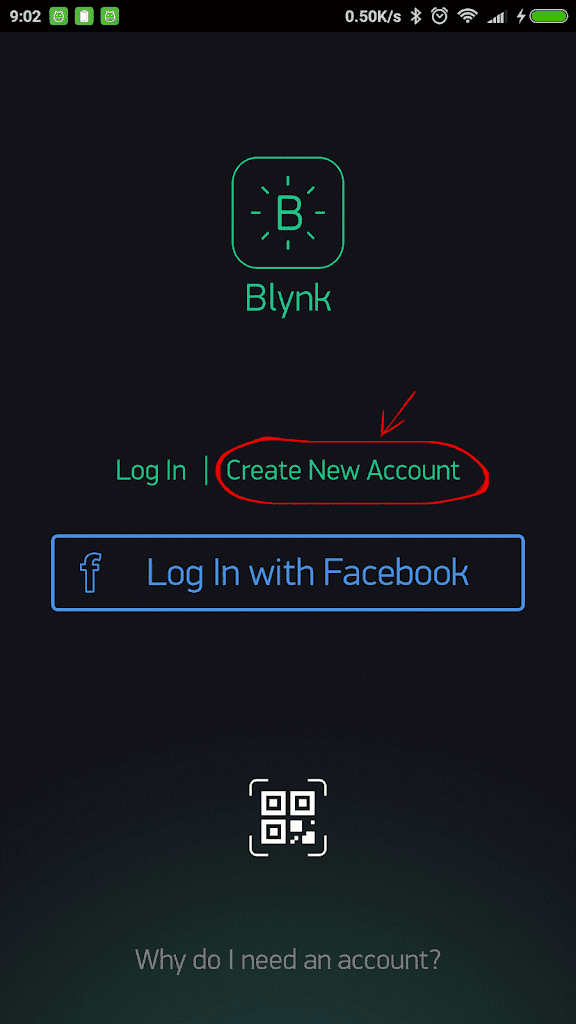
https://play.google.com/store/apps/details?id=cc.blynk - After you download the Blynk App, you’ll need to create a New Blynk account.
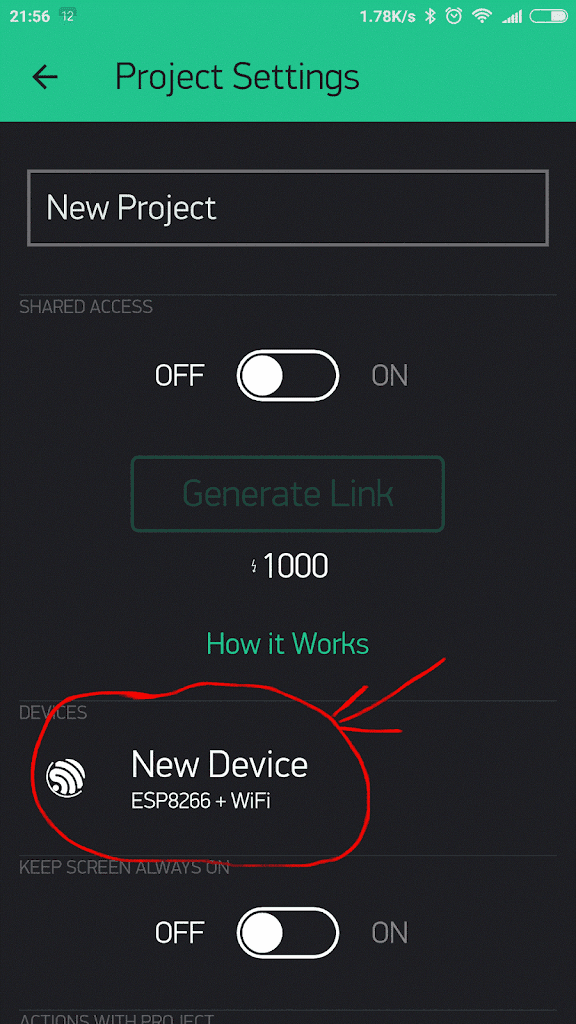
Create a new Project

• Select the hardware model you will use
Note: You can choose any hardware model as we’re not using any hardware. We’re only going to use HTTP requests.

• Auth Token
Every new project you create will have its own Auth Token. You’ll get Auth Token automatically on your email after project creation.
This is a unique Identifier and this need to be noted down. We will require this in future.

• Click on Create button to Create Project.
Add a Widget and Button Configuration
Widget is a relatively simple and easy-to-use component that has a specific functionality. Your project canvas is empty. Click anywhere you will be able to open widget box
• All the available widget are available in widget box
• There is also energy balance. This indicates how many more widget can you use. Every widget consume some of it’s energy

• Drag-n-Drop – Tap and hold the Widget to drag it to the new position.
• Widget Settings – Each Widget has it’s own settings. Tap on the widget to get to them.

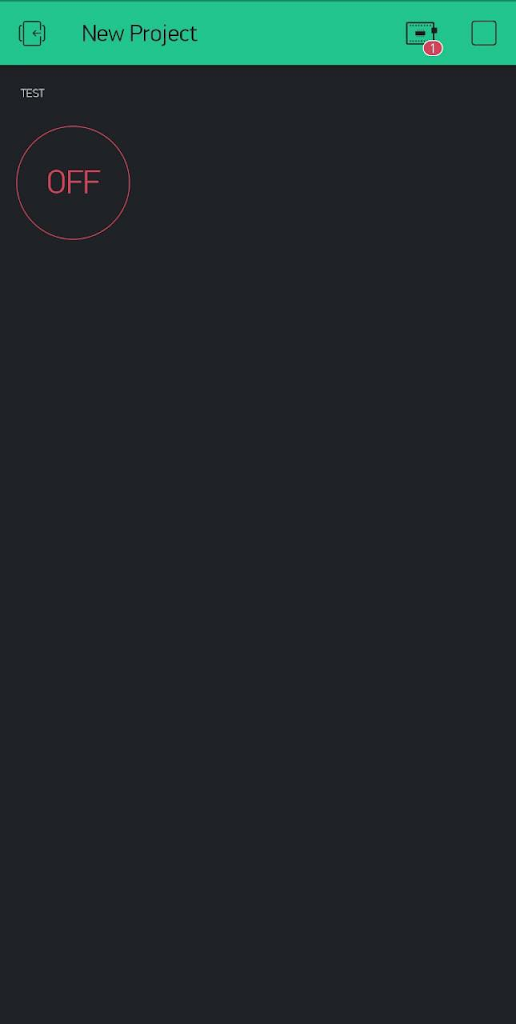
Run
• Click on ß button and ▶ to play
• You will be able to turn the button on and off
Get pin status via HTTP Get
This returns a JSON string with the status of the given URL. There are couple of things that should be kept in mind:
1. Endpoint: An endpoint URL is on which the HTTP request is made here the endpoint is http://blynk-cloud.com/<uth_token>/get/<pin>
2. Auth token: This is the token that we’d received in Step 2.
3. Pin: The pin is the field in output in Button setting option where you’d selected the in. In our case it’s Digital Pin GP0.
- So for digital pins it’s D0, D1, D2…
- For Analog pins it’s A0, A1…
- For Virtual Pin it’s V0, V1, V2…
4. Set the status of button to ON in the app
5.

6. Place make your endpoint URL by placing your auth token in place of <auth_token> and your pin in place <pin>
7. Use curl to get status of the pin
8. 
9. OR You can also do the same using your browser
10. In a new tab paste your endpoint URL
11.
Write pin value via HTTP GET
To change the status of a pin this method is very helpful. To switch on or off any appliance or change the value based on some logic, this method enables developers to access the hardware and application at once. You need to reload the app once property change is pushed. This returns nothing.
1. Endpoint: An endpoint URL is on which the HTTP request is made here the endpoint is
http://blynk-cloud.com/<auth_token>/update/<pin>?value=<value>
2. Auth token: This is the token that we’d received in Step 2.
3. Pin: The pin is the field in output in Button setting option where you’d selected the in. In our case it’s Digital Pin GP0.
- a. So for digital pins it’s D0, D1, D2…
- For Analog pins it’s A0, A1…
- For Virtual Pin it’s V0, V1, V2…
4. Value: This value is the pin to be changed to. 1 for HIGH and 0 for LOW
5. Set the status of button to ON in the app
6.

7. To switch off the pin prepare the Endpoint URL by by placing your auth token in place of <auth_token> and your pin in place <pin> and desired state output in<value>
8. By using curl
9.
10. OR You can also use your web browser
11.
12. This will change the state of the button to 0 or OFF
13.

Change Widget Properties via HTTP GET
One can easily change the widget property via HTTP Get requests. This returns nothing
1. Endpoint: An endpoint URL is on which the HTTP request is made here the endpoint is http://blynk-cloud.com/<auth_token>/update/<pin>?<property>=<value>
2. Auth token: This is the token that we’d received in Step 2.
3. Pin: The pin is the field in output in Button setting option where you’d selected the in. In our case it’s Digital Pin GP0.
- So for digital pins it’s D0, D1, D2…
- For Analog pins it’s A0, A1…
- For Virtual Pin it’s V0, V1, V2…
4. Property: This is for which property field that one wants to change eg. Color, label etc.
5. Value: This value is the property option that one needs to change in.
Note: # cannot be used in url instead it’s %23 is used.
6. Let’s change the color of the button
7.

8. To change the color of the button prepare the Endpoint URL by by placing your auth token in place of and your pin in place color in and color code in hex prededed by %23 instead of # in
9. Something like this http://blynk-cloud.com/xxxxxxxxxxxxxxxxxxxxxxxxxxxx/update/D0?color=%23D3435C
10. Using curl
11.
12. Or via browser
13.
14. Reload the app and you’ll be able to see the changes you’d made.
15.
Hardware Network Status
It is used to check if the hardware is connected to the server or not. This returns json string giving true or false value
1. Endpoint URL: http://blynk-cloud.com/auth_token/isHardwareConnected
2. Replace the auth_token with your authentication token
3.
4. Or via Browser
5.
6. This indicates the Hardware is not connected
Application Network Status
It is used to check if the Application is connected to the server or not. This returns json string giving true or false value
1. Endpoint URL: http://blynk-cloud.com/auth_token/isAppConnected
2. Replace the auth_token with your authentication token
3.
4. Or via Browser
5.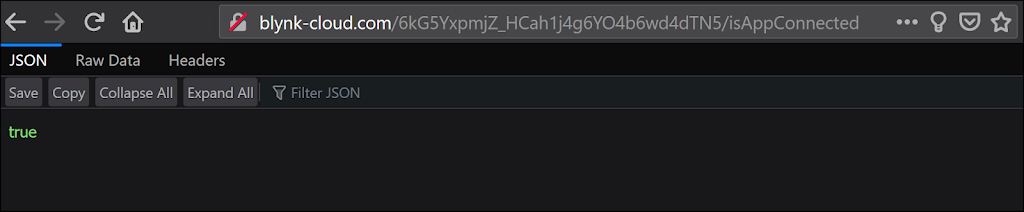
6. This indicates the Application is connected to the server
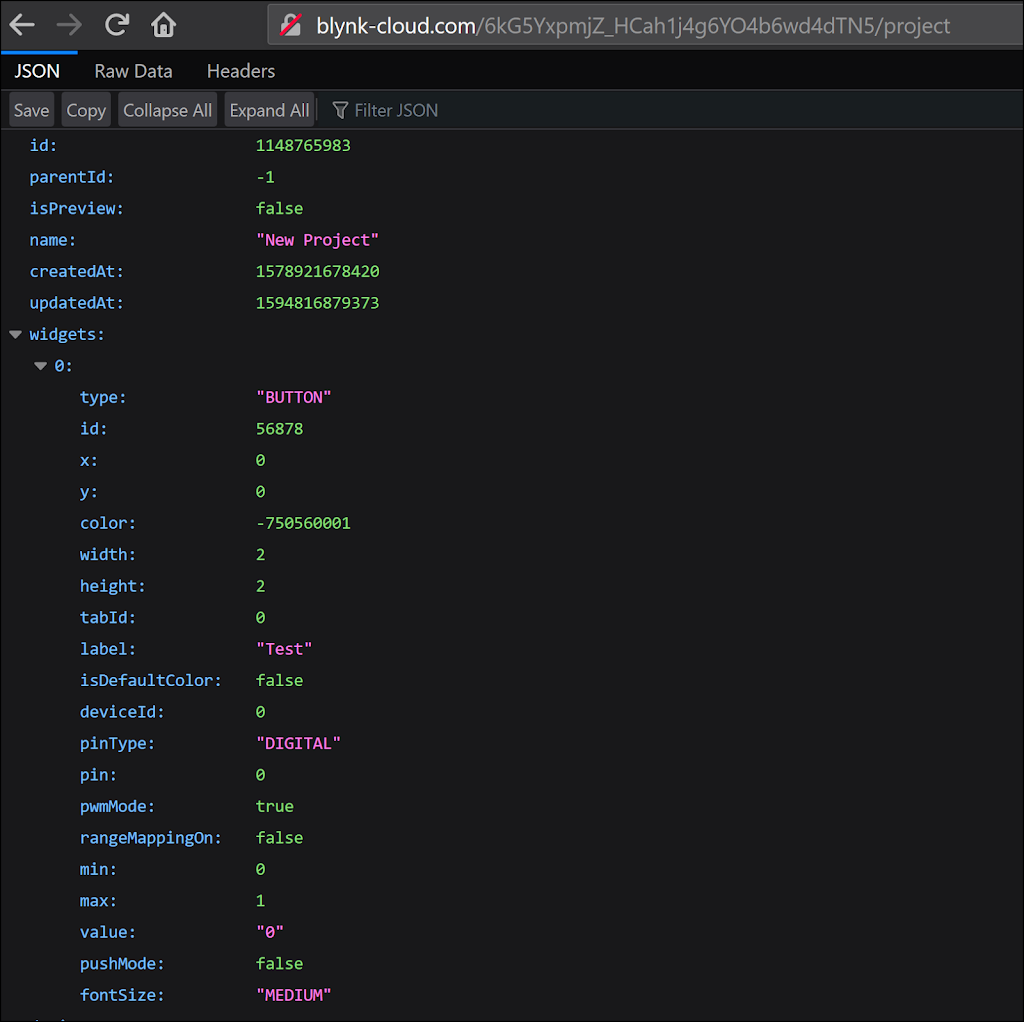
Get Project Details:
You can get all the details of your project. This is helpful in configuring and debugging.
1. Endpoint URL: http://blynk-cloud.com/auth_token/project
2. Replace the auth_token with your authentication token
3.
4. Or via Browser
5.
Try these yourself:
Get a pin History
It is helpful in debugging also provides a flexibility in building customizable dashboards.
Endpoint URL: http://blynk-cloud.com/auth_token/project
QR for Project Cloning
It is used to share your project so that anyone can clone your project and use it. This is done via qr. You can scan qr from your blynk application and clone a project.
Note: It returns a binary file
Endpoint URL: http://blynk-cloud.com/auth_token/qr
If you are still facing issue regarding blynk restful api Feel free to Ask Doubts in the Comment Box Below and Don’t Forget to Follow us on 👍 Social Networks😉


