

This blog will serve you as a guide in installing Splunk on vm (Red Hat Enterprise Linux or CentOS server) and the configuration step by step.
What is Splunk?
Splunk is a log aggregation tool which basically lets you index, transform and visualize the data and gives you valuable insights from the logs which your machine generates.
Splunk does not just limits itself for aggregating logs it can be also used for numerous purposes on real time basis like security investigations to track down specific events and creating reports and alerts of the same
Pre-requisites for Installing Splunk Enterprise
Lets kick off by setting up our VM for all the necessary files/configurations required for installing Splunk Enterprise. With your VMs ready follow the below steps to install Splunk
Step 1: Login to Your VM with root user and password via putty
Provide the credentials which you used for for VM
Note: The username and password are case sensitive

Step 2: Check for the Ip address using the below command
➢ ip addr show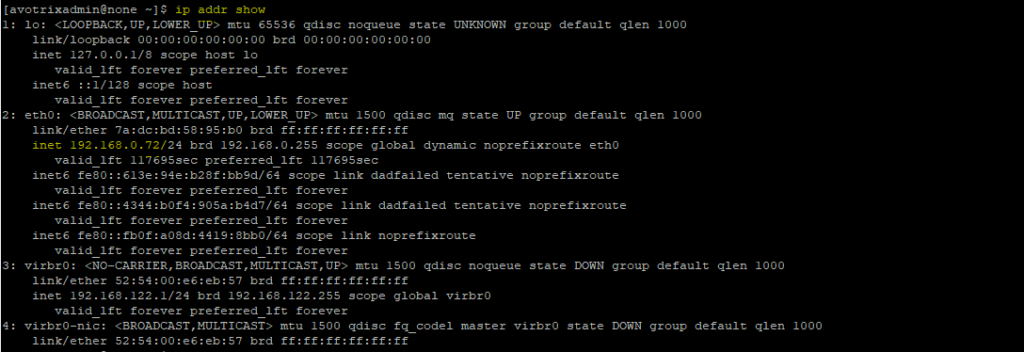
Step 3: Check for the current hostname on the system by using the command
➢ hostname
Step 4: Update the hostname by using the command as per requirement:
➢$ sudo hostnamectl set-hostname
You can confirm your new hostname by using the command:
➢$ hostname
Step 5: Change to root user
➢ sudo su root(Insert admin password when Prompted)

Step 6: Add user splunk
➢ useradd splunk
Set the Password for user splunk
➢ passwd splunk
Step 7: Add Group Splunk
➢ groupadd splunk
Step 8: Creating Usermod
In some scenario if want to change the attributes of the existing user such as change user home’s directory, login name, login shell, password etc in such case “Usermod” command is used.
➢ #usermod -a-G splunk splunk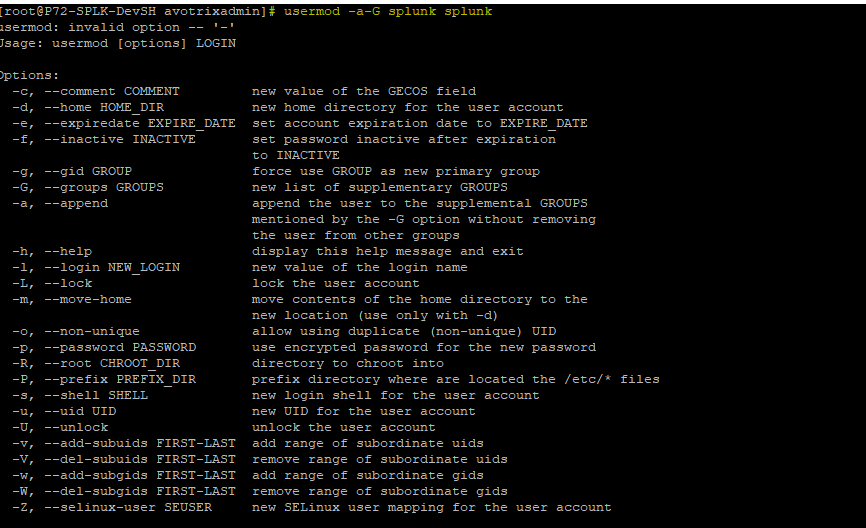
Opening the Required Ports
Splunk needs to open a few ports which are required by web interface, Splunk web port, Splunk Management port,tcp port.
➢# firewall-cmd --add-port=8000/tcp --add-port=8089/tcp --add-port=8191/tcp --add-port=8065/tcp --add-port=9997/tcp
Step 9: Add the Firewall rule for all the required port using the command:

Step 10: List out all the allowed ports using the Command :
➢# firewall-cmd --list-all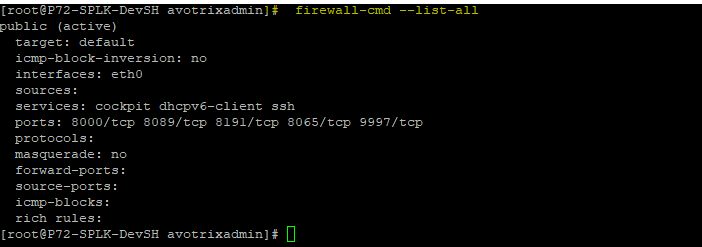
Now since all the conditions and prerequisites have been met we can move forward and install Splunk on the VM by following the steps given below
Downloading and Installling Splunk Enterprise
Step 11:
Now go to http://www.splunk.com/ to get Splunk package to install.
➢ Create if you do not have account and login.
➢ Click free Splunk.
➢ Select Splunk Products you need, we did downloaded Splunk Enterprise.

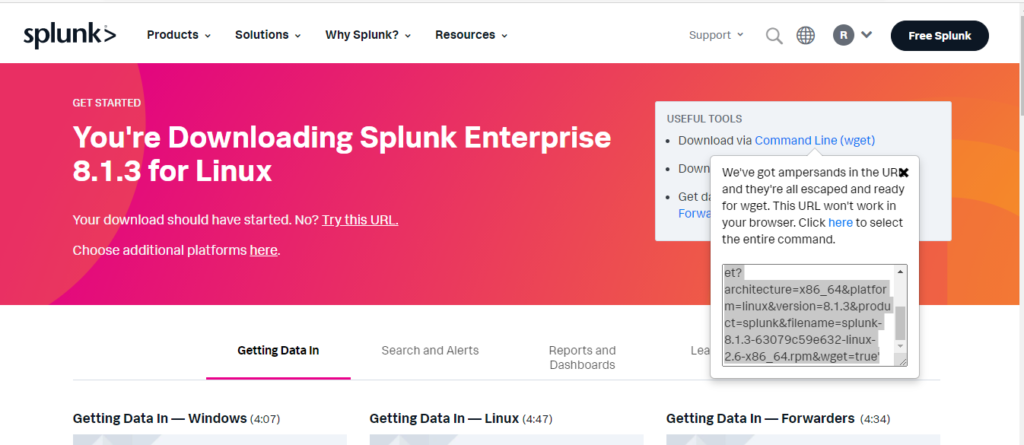
Next select package as per required OS and configuration, you can also select older versions
➢ We selected (Linux, rpm package, latest version)
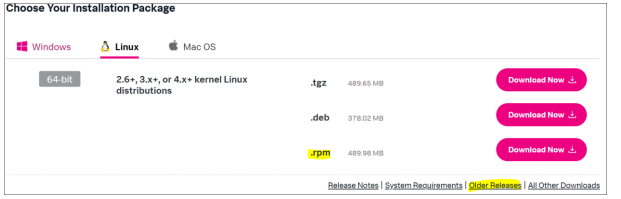
➢ Click Command Line (wget), and copy it
Step 12: Open putty as root user (avotrixadmin) on the instance and go to opt folder in order to install splunk .
➢cd /optNote: IF wget package is not installed ,use the command to install wget as root user:
➢# yum install wget➢#run the copied wget command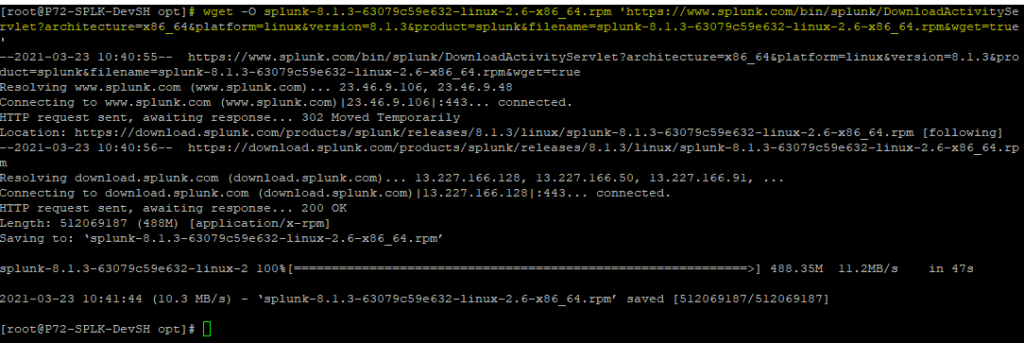
Note: You will see processing it, wait till 100%
Check the installed Splunk package name under opt dir using the command:
➢ ls
Step 13:
After downloading the package which is in compressed form ,Unpack and install it using the command:
➢rpm -ivh <splunk package name>
Step 14:
After Installing Change the ownership of splunk folder from root to splunk for all splunk files and folder using the following command :
➢ chown -R splunk:splunk /opt/splunk
Stop splunk by root now
➢/opt/splunk/bin/splunk stopNote: Always remember all the splunk files and folder should be under splunk user ownership.If we start our splunk by root then our splunk files and ownership will be changed to root.
Switch to splunk user using the command
➢ sudo su splunkStarting your Splunk Instance
Step 15: Start your splunk instance using the command:
➢ /opt/splunk/bin/splunk start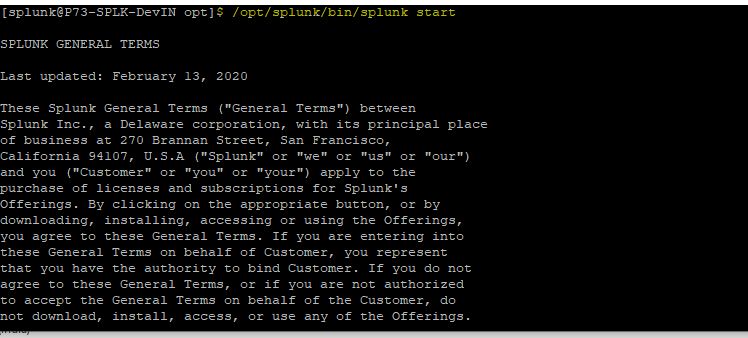
Space-down and answer ‘y’ to the license question, or use:
➢./splunk start --accept-licenseYou’ll see a series of startup messages, then:
The Splunk web interface is at http://:8000
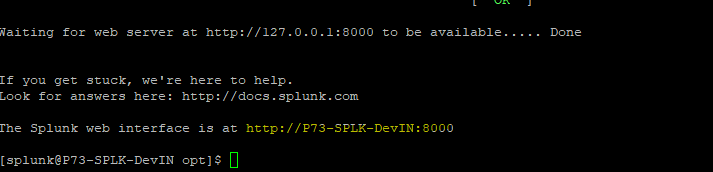
Your Splunk instance is ready and for use.
Repeat the Above steps to install splunk on other instances too.
If you are still facing an issue regarding installing splunk on vm, Feel free to Ask Doubts in the Comment Section Below and Don’t Forget to Follow us on 👍 Social Networks. Happy Splunking 😉


