
Make sure you have the latest version of Python 3.7.X installed in your computer. If you don’t, follow the next instructions to install Python 3.7.X.
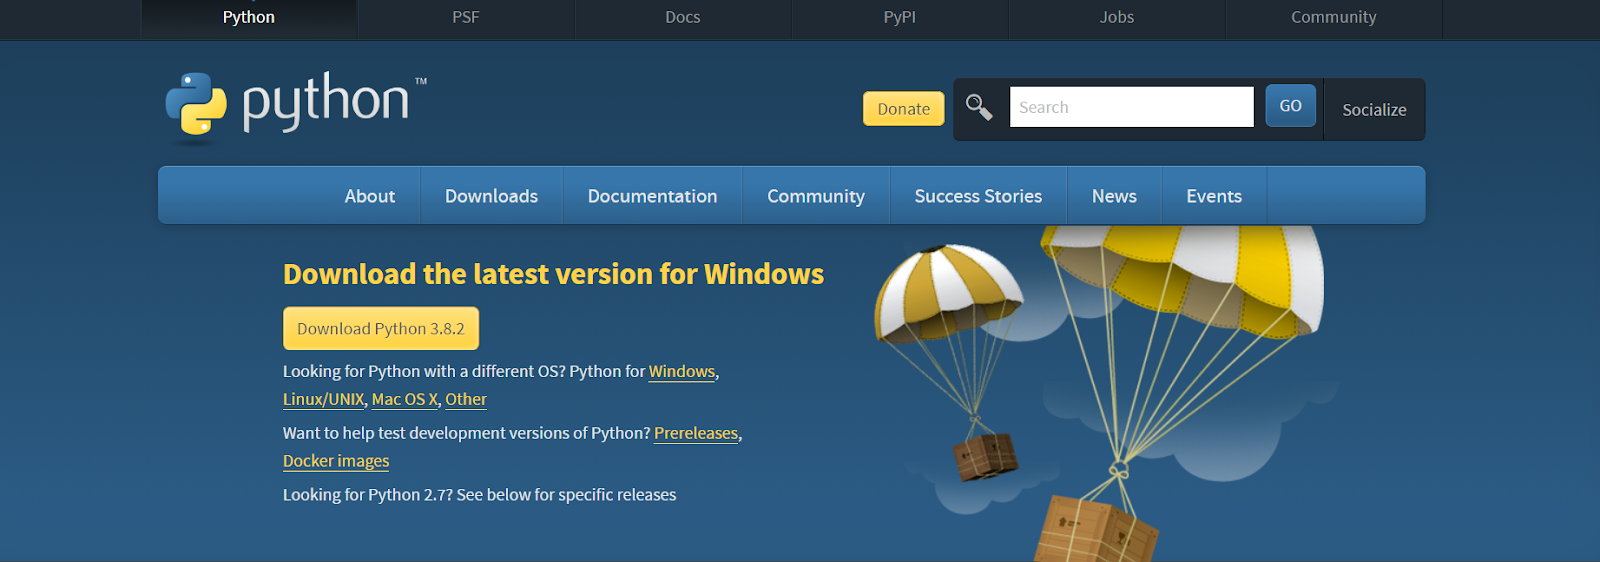
- Go to the Python Downloads page: www.python.org/downloads and download the installation file.

- Choose the suitable version according to your OS. Download and start the insallation.
- Enable the option at the bottom “Add Python 3.7 to PATH”. then, press the “Install Now” button.

- Wait a few seconds while the software completes the installation process.

- When it’s done, you should see the message “Setup was successful” and you can close that window.


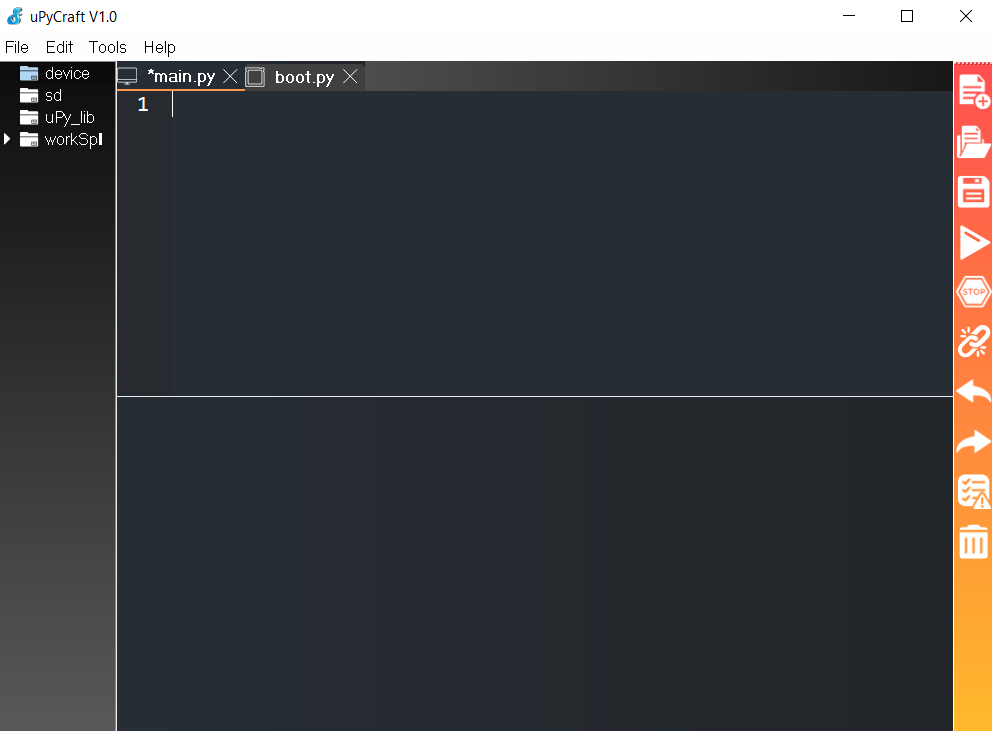
Installing uPyCraft IDE:-
- Download and install uPyCraft IDE from link.
- After a few seconds you should see a similar file (uPyCraft_VX.exe) in your Downloads folder.
- Double-click that file. A new window opens with the uPyCraft IDE software.

Downloading and flashing MicroPython on ESP8266: –
To download the latest version of MicroPython firmware for the ESP8266, go to the latest MicroPython download page and scroll all the way down to the ESP8266 section
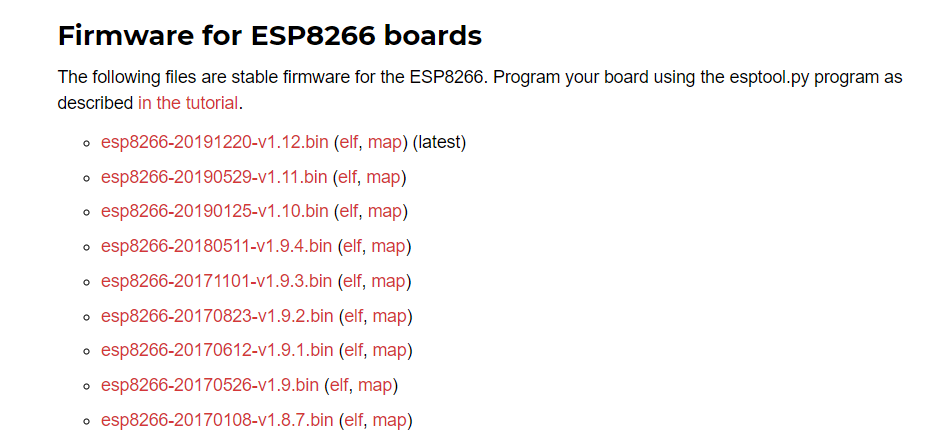
Note:- it is only for ESP8266 if you are using different board then download according to your board specification
Serial port In IDE:-
- Connect the NodeMCU via USB or ESP8266 via CP2102 to your System.
- Go to Tools > Serial and select your ESP8266 COM port.

- Note: If you don’t see your COM port available then this means you don’t have proper driver. ESP8266-NodeMCU board uses CP2102 driver so download CP2102 driver. You can download the CP2102 drivers on the silicon labs website.
- After they are installed, restart the uPyCraft IDE and you should see the COM port in the Tools menu.

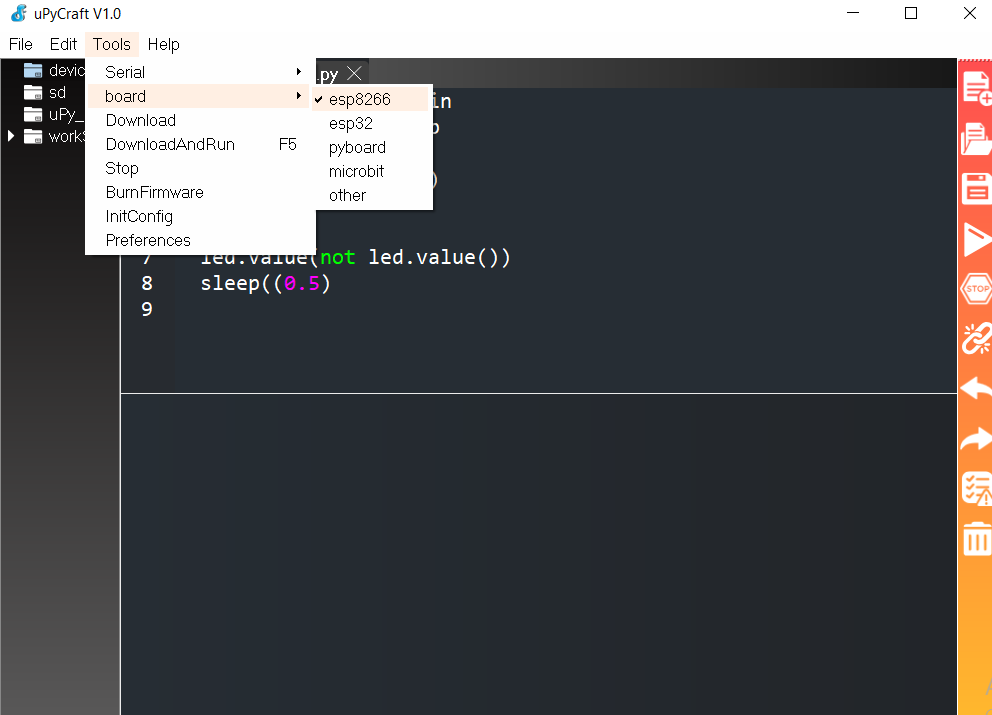
Select board: –
Go to Tools > Board. For this tutorial, we assume that you’re using the ESP8266, so make sure you select the “ESP8266” option:
Flashing and uploding firmware
go to Tools > BurnFirmware menu to flash your ESP8266 with MicroPython.
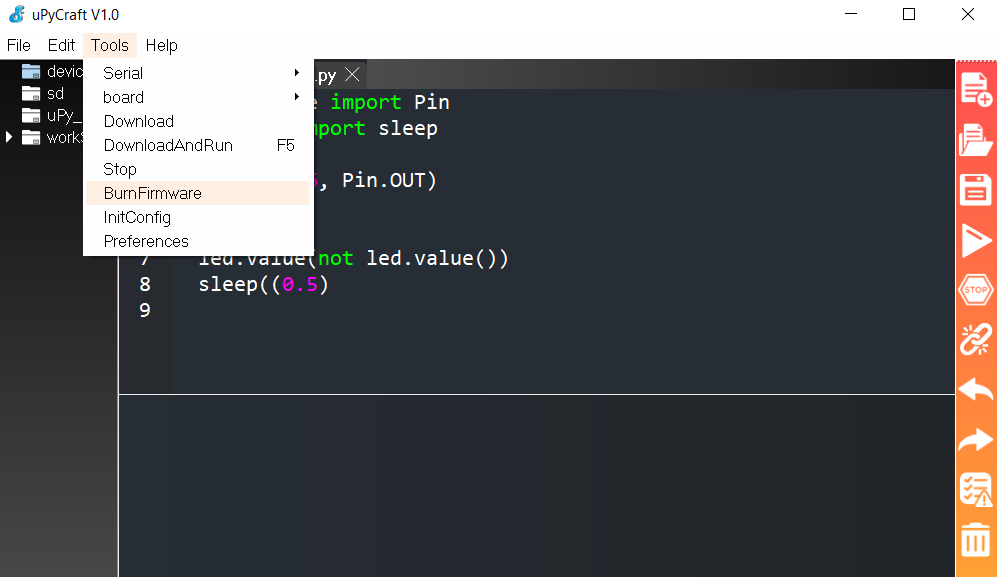
After clicking on burnfire you will get following window
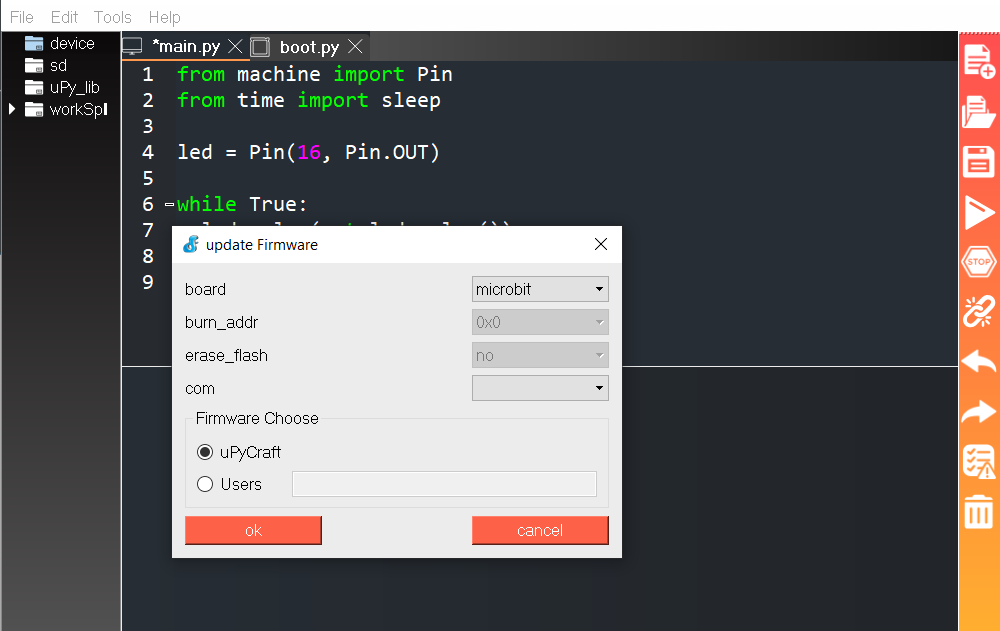
Just select following option
Board – esp8266
Burn-addr – 0x0
Erase_flash – yes
COM – comport number
Primary choice will be Users
Firmware: Select “Users” and choose the ESP8266 .bin file downloaded earlier
After pressing the “Choose” button, navigate to your Downloads folder and select the ESP8266.bin file:
Having all the settings selected, hold-down the “BOOT/FLASH” button in your ESP8266 board:
While holding down the “BOOT/FLASH“, click the “ok” button in the burn firmware window

When the “EraseFlash” process begins, you can release the “BOOT/FLASH” button. After a few seconds, the firmware will be flashed into your ESP8266 board.
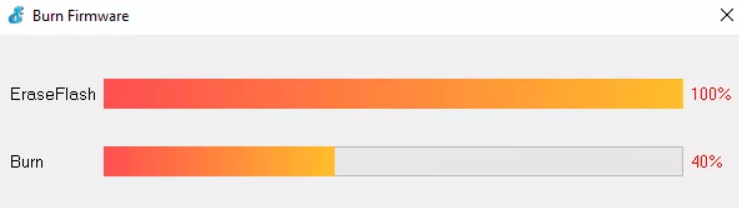
Note: if the “EraseFlash” bar doesn’t move and you see an error message saying “erase false“, it means that your ESP8266 wasn’t in flashing mode. You need to repeat all the steps described earlier and hold the “BOOT/FLASH” button again to ensure that your ESP8266 goes into flashing mode


