

What is an Add-On?
A Splunk Add-On is the app that runs on the Splunk platform and provides specific capabilities to other apps, such as getting data in, mapping data, or providing saved searches and macros. An add-on is not typically run as a standalone app
Splunk addon builder can be use to create Add-on and apps for our projects. Creating Add-on for modular inputs to get data in splunk using Python script it helps you build and validate technology add-ons for your Splunk Enterprise deployment.
It’s an Technology Add-On which serve purpose of getting data input from REST API directly in Splunk. It’s a modular input for getting data from any API.
What is Modular Inputs?
Modular Inputs enable you to add new types of inputs to Splunk Enterprise, and have them treated as native Splunk Enterprise inputs. Users interactively create and update the custom inputs using Splunk Web, just as they do for native inputs.
Installation and Working of Splunk AddOn Builder:-
Installation of Splunk Add-On Builder
1 – Login to your Splunk Enterprise
2 – Install Splunk Add-On Builder from Splunk Enterprise App Console
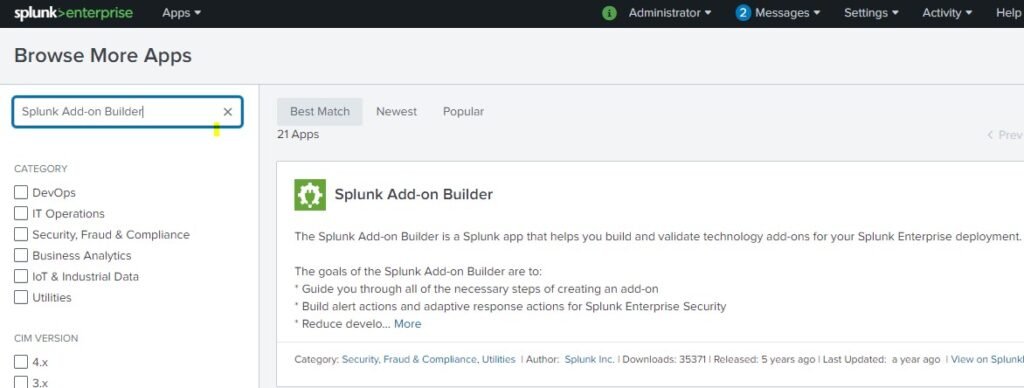
3 – Go to Browse more apps
4 – Search Splunk Addon Builder in Text box
5 – Install Splunk Addon Builder with giving credentials of splunkbase.com
6 – Restart Splunk from Settings -> Server Controls -> Restart
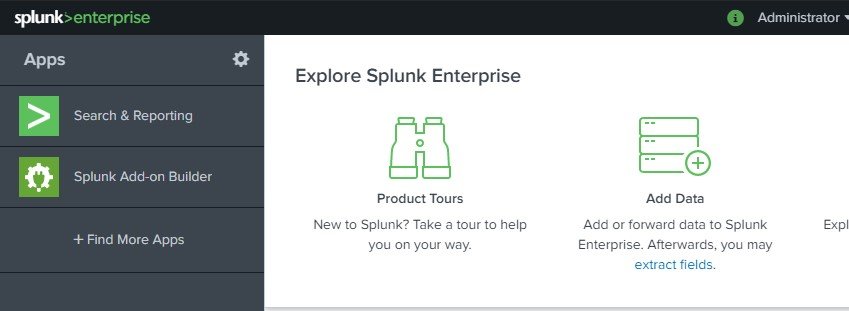
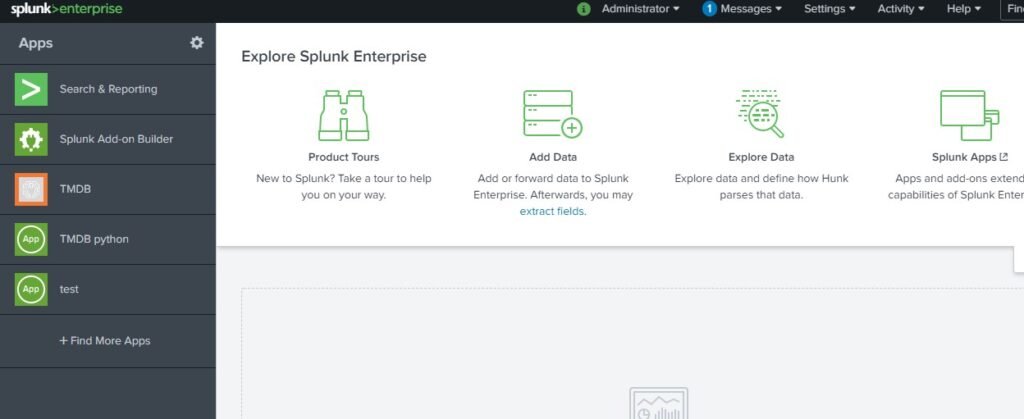
7 – At splunk homme page splunk Add-on builder is created
8 – Click on Splunk AddOn Builder


9 – In Splunk Addon Builder create a new Add-on
10 – Click on New Add on

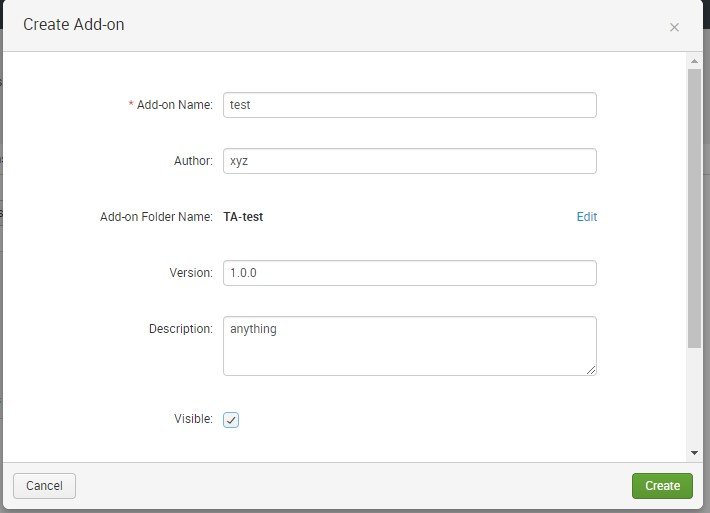
11 – Fill the fields of Add-on Name, Author, Version, Description and we can select Add-on need to be visible to us or not.
12 – Checked on Visible, Here Add-on Folder name is created when we enter Add-on name
All configuration is been set in that created Folder Name
13 – After adding fields click on create, New Add-on will be created
After creating Add-on we can see following tabs for for creating Rest API data to get consumed Click on Configure Data Collection

After Configure data collection Click on New Input button

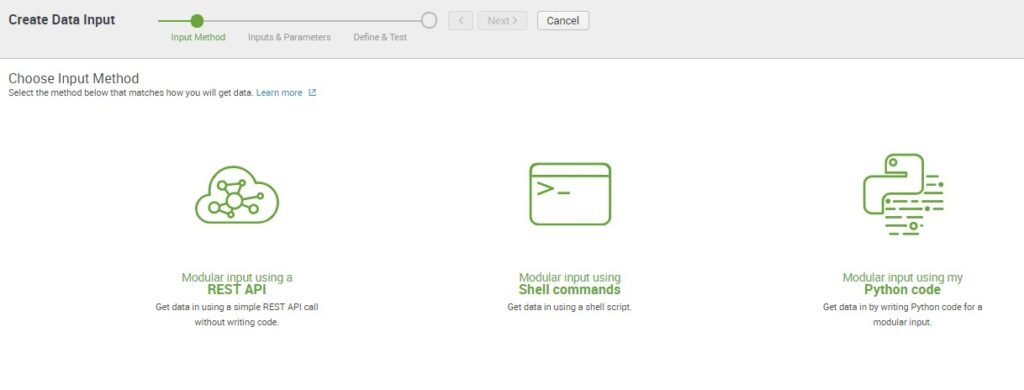
After creating data input we can see 3 modes of getting data through REST API
Through REST API, Shell commands, Python Code
We will be selecting Python code for writing python script for getting data input and indexing in splunk
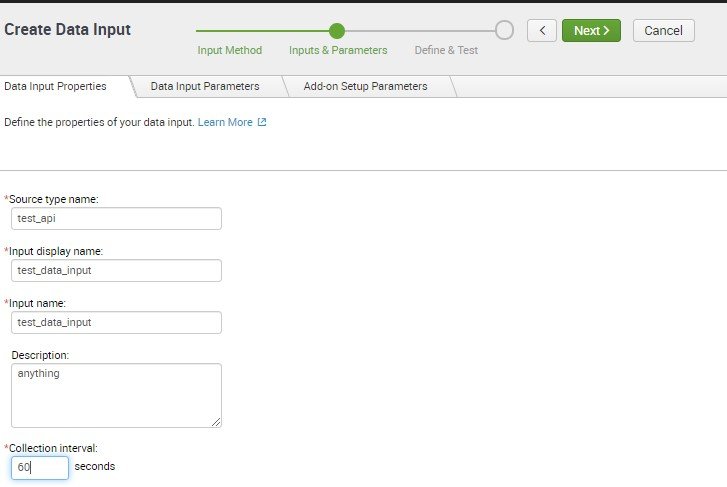
In Data Input Properties fill sourcetype name, Input display name which is while adding from Settings -> Data Inputs -> test_data_input name will be displayed
Set collection Interval that is at how many interval script will run to get API data to index
Default is 30 seconds. Here we added 60 seconds or can be added any time interval
Next tab is Data Input Parameters here we define the parameters that required in url
Example:- https://api.themoviedb.org/3/movie/upcoming?api_key=52627aedc907aedc4e631f3a69a43c85
Base – URL → https://api.themoviedb.org/3/movie/upcoming
Parameters → api_key=52627aedc907aedc4e631f3a69a43c85
Parameter needs to be added while fetching url from API script

Drag and drop Text box for adding parameter from user end which is API KEY api_key which is also been selected as required. Click on Next

When Clicking on Next, we can see a programming tab is opened where we can create a Python Script for getting Data through API’s
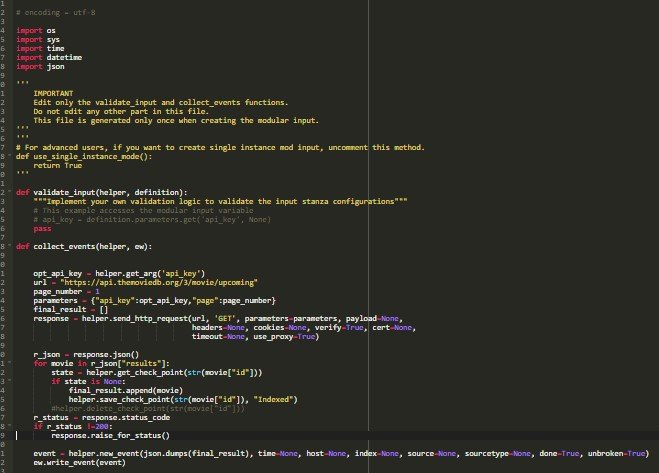
Default script is been set for our reference we can edit this script and add our own Python script

Here is the Python Script for getting data through API
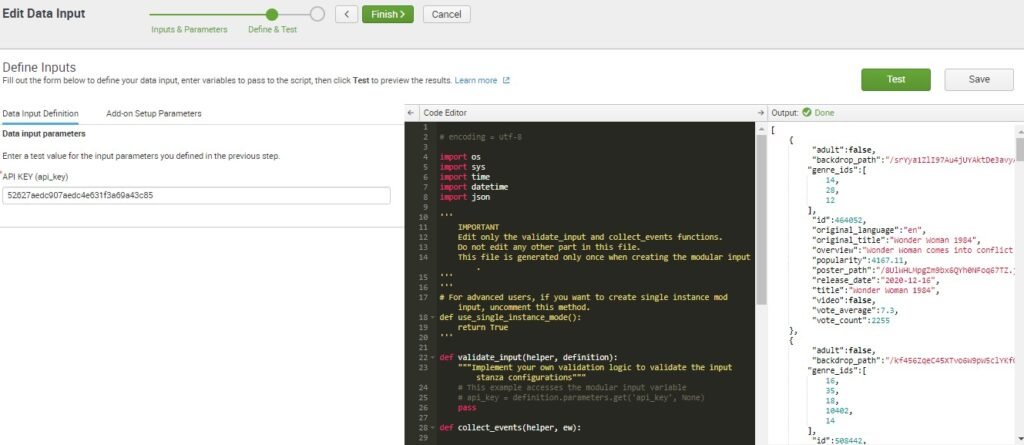
On the left side we user input parameter is required which need to set api_key for testing purpose just to see our Python script is running we can add api_key as parameter and click on Test here we can test and get results of API that we want to get input in Splunk.
When testing all the requirements are met for getting data through python script we can Click on Finish
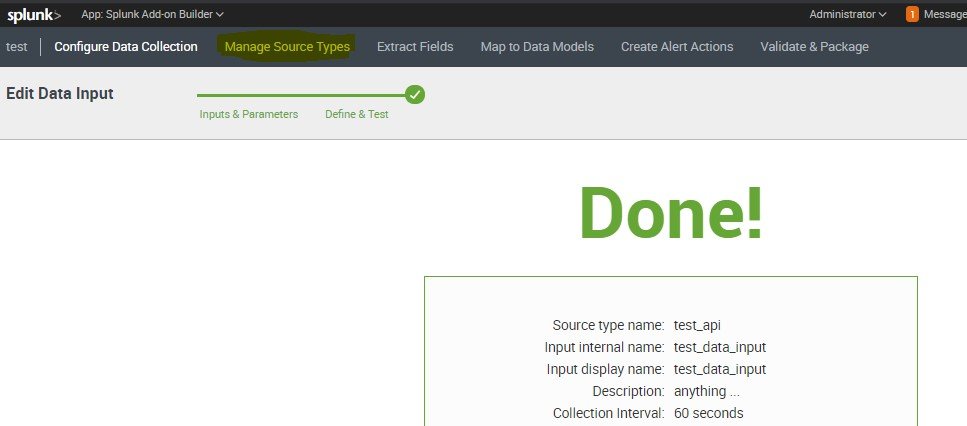
After clicking on Finish we can see the Done message we can check our fields are correct or not.

Points to Remember while writing Python Script
While writing python script of getting data from API and adding to splunk. We have to keep in mind through API dynamic data is coming and we set interval of 60 seconds than our python script will run every 60 seconds and same data will get indexed in Splunk
This arises Data Redundancy duplicate data is been stored in splunk index for every 60 seconds of intervals same data is going to be stored in splunk
To overcome that thing there is a concept called Check pointing
At the very first time API is run and data get into splunk we set checkpoints the code is already been taken care of in above script
When data gets added we store one of field as a check point, it is basically the field which is to be stored in splunk with that value so when next 60 seconds script will run again data is been check and the same field which is checkpointed in splunk backend if that field matches to the new field it will not indexed that event data in splunk that particular event is skipped it will check the field if new fields data doesn’t match to that field
Then it will indexed the event data in splunk This overcomes that splunk adding similar data coming from API.
Example :-
{
 	 	 "adult":false,
 	 	 "backdrop_path":"/srYya1ZlI97Au4jUYAktDe3avyA.jpg",
 	 	"genre_ids":[
 	 	 	14,
 	 	 	28,
 	 	 	12
 	 	],
 	 	 "id":464052,
 	 	 "original_language":"en",
 	 	 "original_title":"Wonder Woman 1984",
 	 	 "overview":"Wonder Woman comes into conflict with the Soviet Union
during the Cold War in the 1980s and finds a formidable foe by the name of the Cheetah.",
 	 	 "popularity":4167.11,
 	 	 "poster_path":"/8UlWHLMpgZm9bx6QYh0NFoq67TZ.jpg",   	 	 "release_date":"2020-12-16",
 	 	 "title":"Wonder Woman 1984",
 	 	 "video":false,
 	 	 "vote_average":7.3,
 	 	 "vote_count":2255
 	},

 	 	 "vote_count":2900
 	}
Here we have this kind of json data coming through API so at first time of data inputing we add above json data’s “id : 464052” field as checkpoint it is been stored in splunk backend with value 464052 in a file. So when the same event comes again which similar id value it will check this id is stored or not if id value matches to new id value it will consider as same event data and it will not index it it will skip that whole event data and if value doesn’t match new value it will keep and index that event in splunk.
Here default Python script consist of python helper functions to get data and setting checkpoints
Here is the link of documentation regarding helper function in python:- “https://docs.splunk.com/Documentation/AddonBuilder/3.0.1/UserGuide/P ythonHelperFunctions”
Next step is managing sourcetype here data is coming from json format it needs the sources type as _json which is default sourcetype in splunk we have to add that attributes
Click on Manage Source Types
For setting source type Click on Edit on source type test_api

Here is the sourcetype for getting the _json sourcetype
From splunk backend go to /opt/splunk/etc/system/default
Props.conf find _json stanza copy and add same attributes here which are
INDEXED_EXTRACTIONS = json
KV_MODE = none
Other fields in following sourcetype need to be set as Default

Click on Save

On splunk Home we can see test App is been created Click On Test App
In test App Click on Create New Input

Fill the fields for New Data Input Name, set interval, index = main or any other you want to set where your data will get indexed, Add the API KEY which is data input parameter which we set while testing.

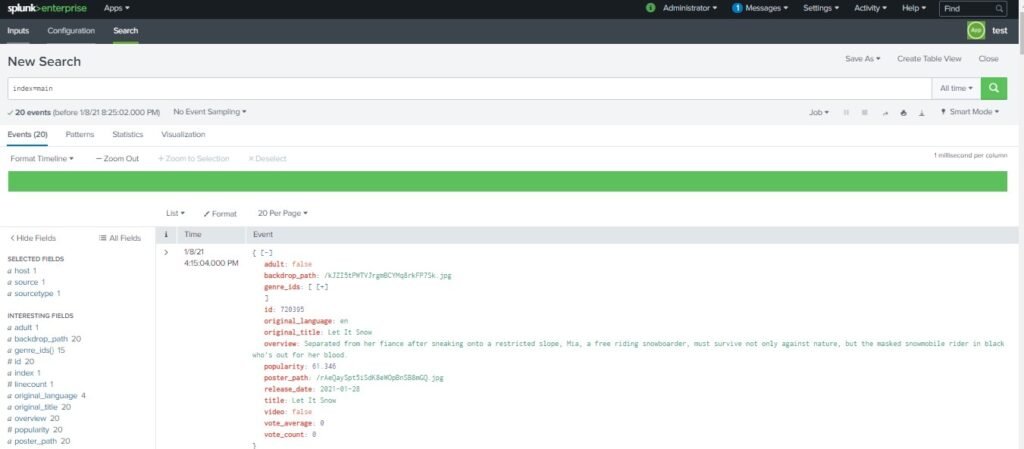
Here we can see our Data Input is enable time to check API input data. Click on Search of the same Test App

In Search tab search for index=main which is been set for All time we can see data is coming from python script input through REST API and getting indexed in splunk successfully.
As we have set running of script interval of 60 seconds so every 60 seconds script will run and new data will get indexed we duplicate data doesn’t indexed again than our check pointing code set in python script is working fine.
If you are still facing an issue Feel free to Ask Doubts in the Comment Section Below and Don’t Forget to Follow us on 👍 Social Networks. Happy Splunking 😉


