
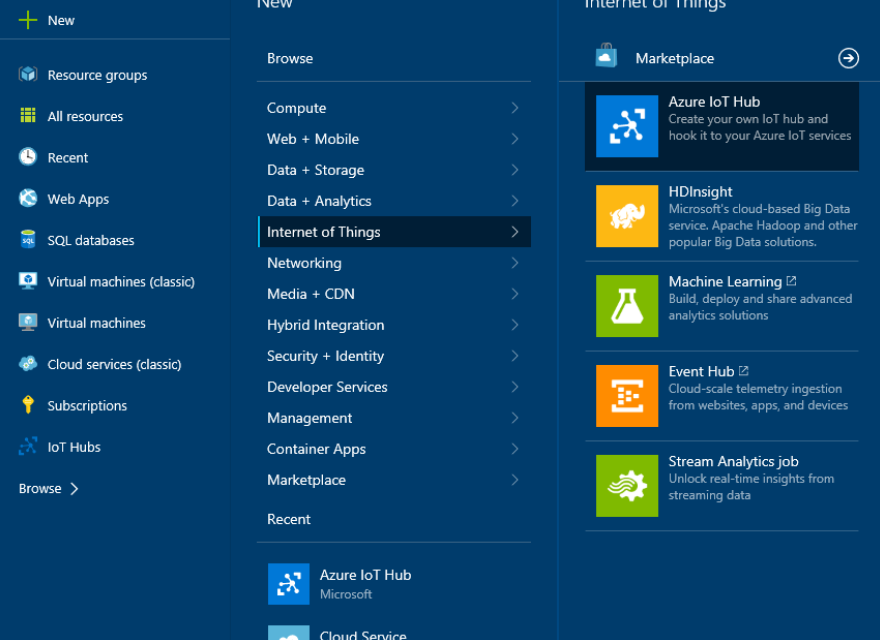
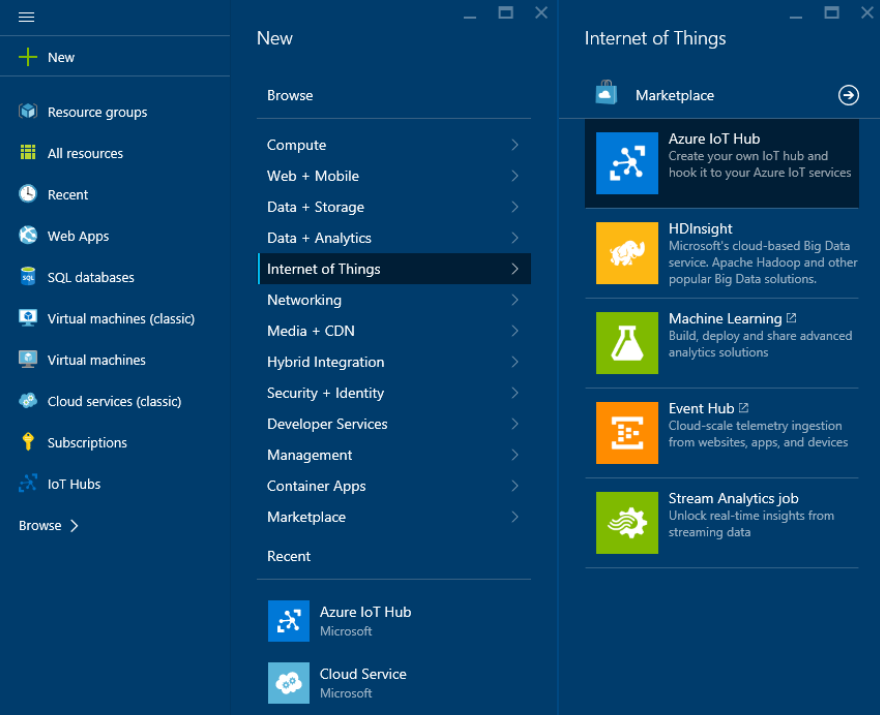
- Click on the New menu option in the upper-left.
- Select Internet of Things.
- Select Azure IoT Hub.
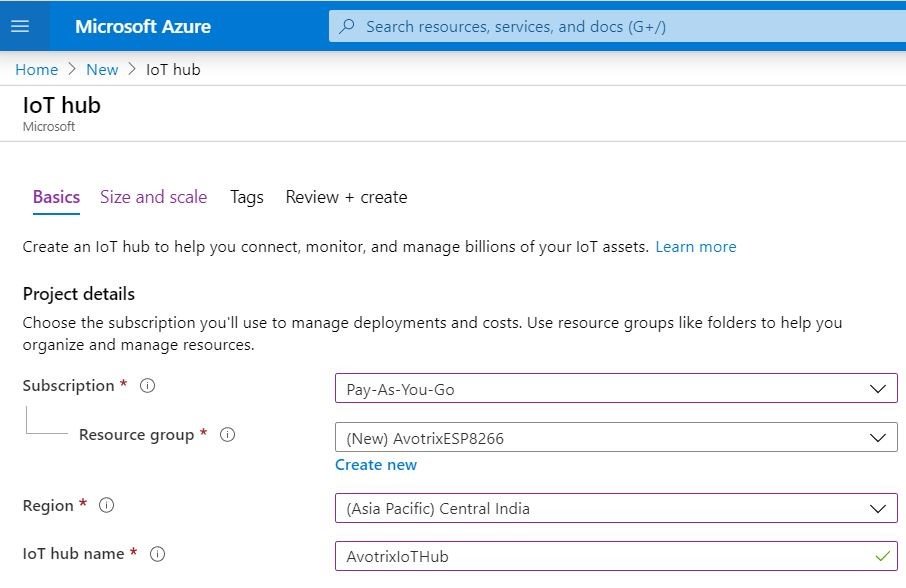
- Give it a name. (e.g. your name followed by iot-labs).
- Select or create a new Resource Group.
- Select a location. Choose the one closest to your physical location.
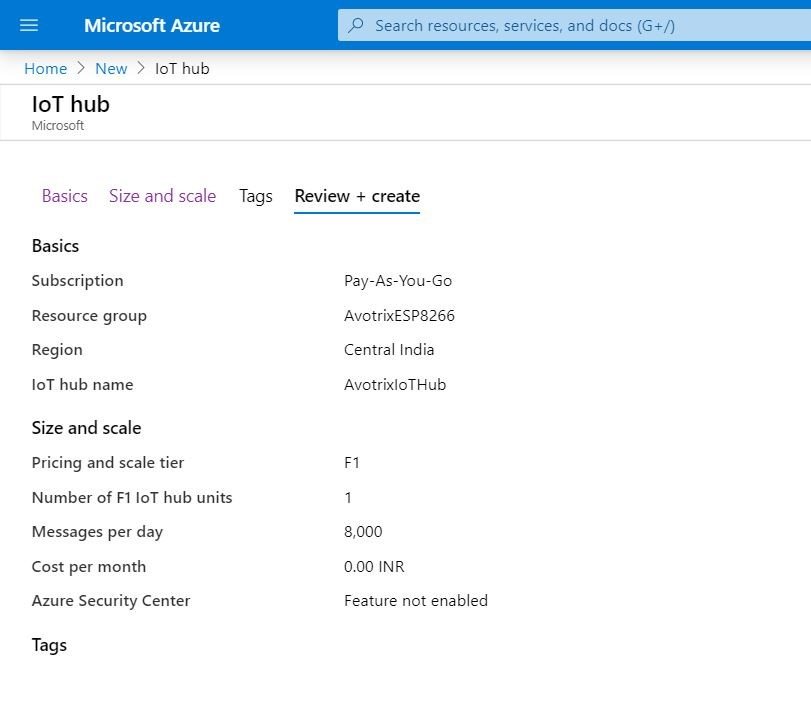
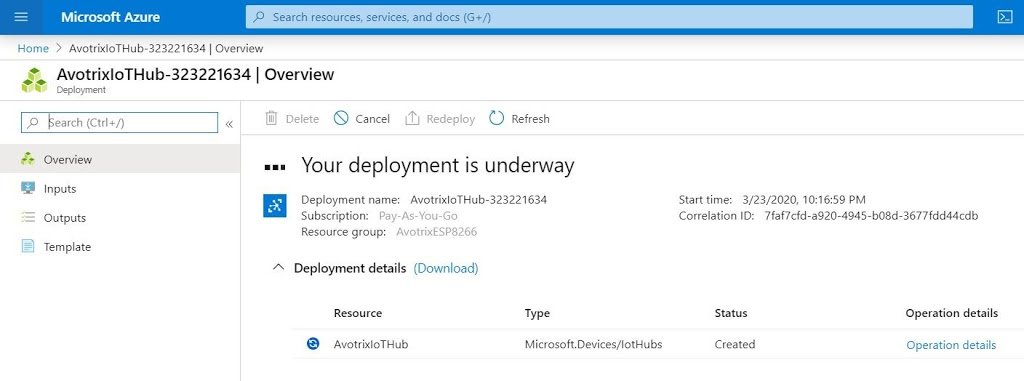
Once the IoT Hub is created, we can then create a device. When I say ‘create a device’ its just a way of letting Azure IoT Hub know about devices which would connect. We can create a new device by clicking on the Add button.

Please proceed with entering a DeviceId and then select the Authentication Type that you want your device to use while connecting to the Hub. By default symmetrical key is selected which can be changed to X509 certificate if you intend to use a certificate while authenticating your devices. We would cover that later once we see how to use Device Provisioning Service (DPS) in Azure IoT. For now let’s select symmetric key and have the option Auto-generate-key checked which would generate the keys for us.

Click on the device created to see the details about keys and connection string.

This shows details about the device which we just created. It shows ConnectionString info as well. Please make sure you keep this information secure and don’t share it in public since this is the id which your device would use to connect to Azure IoT hub. You can see the options like Message to Device, Direct Method, Device twin etc., which can be ignored for now. We would cover these later in our next post.
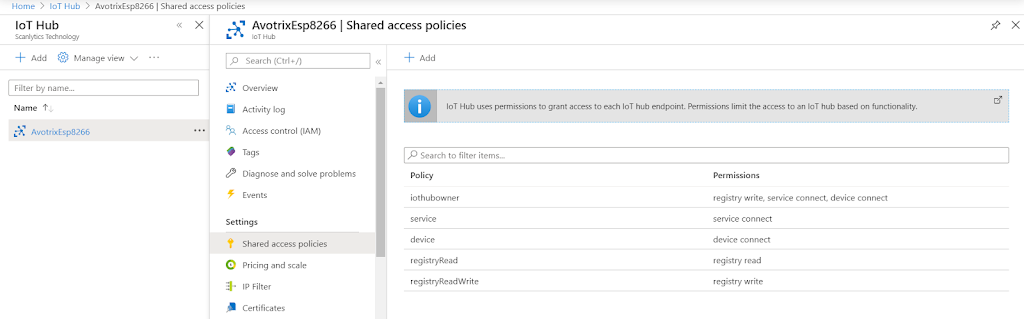
- Navigate into the IoT Hub.
- Click on the key icon at the top of the blade.
- In the next blade, click on the iothubowner entry.
- Copy the Connection string-primary key to your clipboard.
Arduino Code
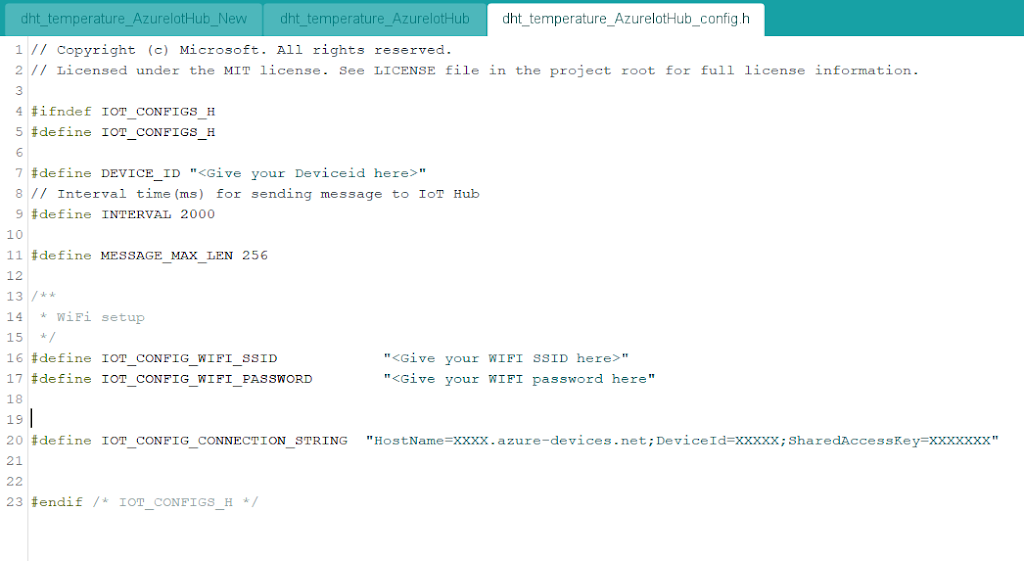
Header file “dht_temperature_AzureIotHub_config.h” has details about connection string and WiFi SSID and password. Please update these config and then flash your NodeMCU .Please make sure you are giving updated connection string in IOT_CONFIG_CONNECTION_STRING.
You can open Serial Monitor from Arduino IDE to view the details of data being send to Azure IoT Hub.

Source code:-
Callback function and sendmessage function file
Azure Config file


